


Expertise you can trust: Brilliant Earth is known for its award-winning jewelry designs and seamless, innovative shopping experience. This Brilliant Earth jewelry guide walks you through everything you need to know about creating the perfect ring stack. All Brilliant Earth guides are meticulously researched and reviewed by our certified gemologists, content, editorial, and brand teams before publication to ensure industry-leading excellence and accuracy.
How to Stack Rings
Ring stacking is the art of layering multiple rings on one finger or across several fingers to create a cohesive yet unique look. Each ring serves a purpose in the overall composition, working together to create visual interest and express your personal style. Here’s a step-by-step approach to creating a ring stack:
1. Start with a Base Ring
Begin with a classic, simple band as your foundation. This anchors your stack without overpowering additional rings.
2. Add Layers of Contrast
Follow the base ring with pieces that offer textural or stylistic contrast. For instance, pair a hammered ring above a smooth one to create subtle complexity.
3. Incorporate a Gemstone or Focal Ring
Position a ring with a larger gemstone or unique design next to simpler rings. This focal point draws attention and keeps the stack visually engaging.
4. Complete with Delicate Bands
End the stack with thinner, more delicate rings to create a tapered effect that doesn't overwhelm the finger.
5. Experiment with Symmetry and Asymmetry
Don't be afraid to play with balance. Asymmetrical arrangements can look intentionally stylish, while symmetry creates a more classic feel.

Ring Stacking Ideas
When creating your perfect ring stack, consider these style approaches to find what works best for your personal aesthetic.
Engagement Ring and Wedding Band Stacks
Engagement rings serve as the perfect centerpiece for sophisticated ring stacks, with wedding bands and accent rings enhancing their beauty:
- Matching sets: Select wedding bands specifically designed to pair with your engagement ring's profile.
- Symmetrical framing: Flank your engagement ring with identical bands on either side for classic balance.
- Contoured embrace: Use curved bands that follow the shape of your center stone for a custom-fitted look.
- Graduated sparkle: Position pavé bands with decreasing stone sizes as you move away from the center ring.
- Mixed metal statement: Pair a platinum engagement ring with rose gold bands for romantic contrast.
- Vintage-modern fusion: Combine an heirloom engagement ring with contemporary bands.
The engagement ring should remain the visual focal point, with complementary bands enhancing rather than competing with its design.

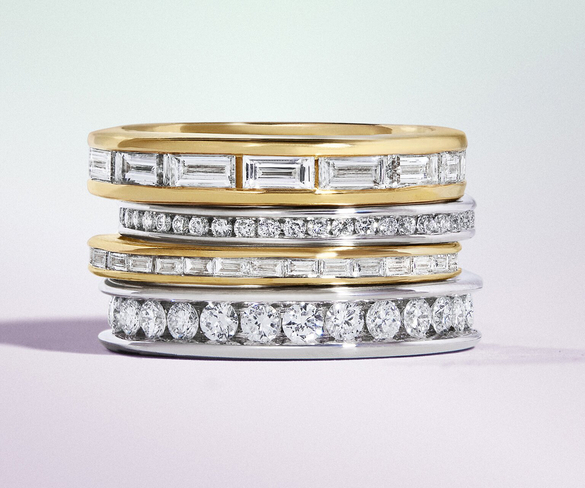
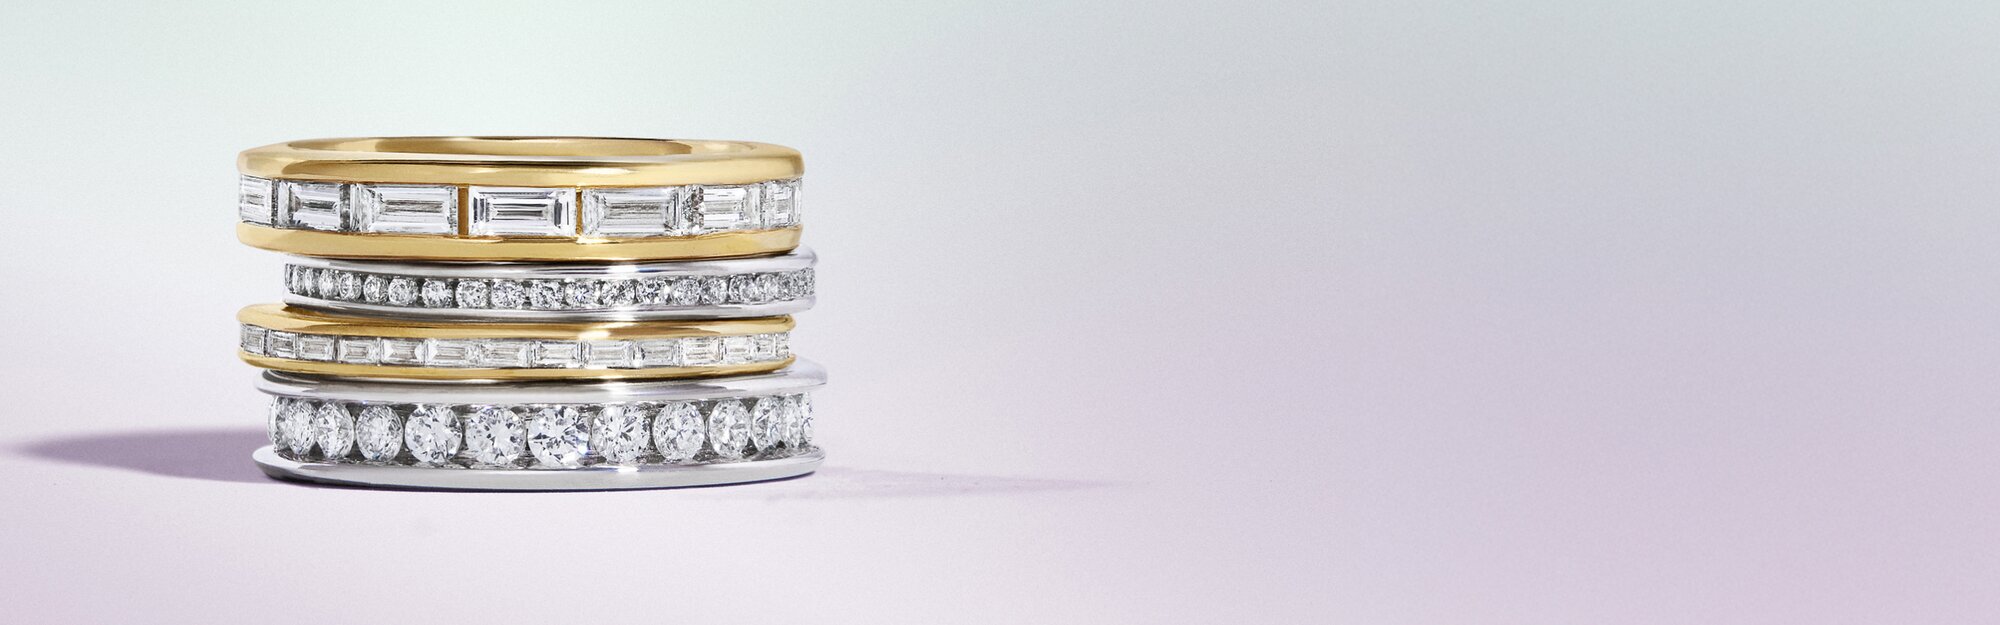
Diamond Ring Stacks
Diamond bands add sparkle and sophistication to any ring stack:
- Setting variety: Combine bands with channel, pavé, shared-prong, and bezel settings for textural contrast.
- Width play: Alternate between ultra-thin diamond bands and more substantial styles.
- Diamond shape mix: Pair round brilliant bands with baguette or marquise bands for geometric interest.
- Negative space emphasis: Space diamond bands with solid metal rings to create breathing room for sparkle.
- Graduated effect: Arrange multiple diamond bands from most to least substantial for an elegant cascade.
A thoughtful arrangement of diamond bands creates captivating light play, with varying settings reflecting light differently as your hand moves.

Gold Ring Stacks
Gold stacking rings offer warmth and timeless appeal that work in virtually any stack composition.
- Karat variation: Mix 14K and 18K yellow gold to create subtle color depth through different gold percentages.
- Textural contrast: Mix high-polish bands with hammered, brushed, or satin-finished rings.
- Width variation: Alternate between knife-edge, comfort-fit, and flat bands for dimension.
- Negative space design: Select open-work or split-shank yellow gold bands to create airy, lightweight stacks.
Yellow gold's inherent warmth adds a rich quality to stacks, particularly flattering on warm and neutral skin tones while providing striking contrast on cooler complexions.

Mixed Metal Ring Stacks
Mixing metals creates dynamic, personalized stacks that reflect contemporary styling:
- Intentional pattern: Create repeating patterns like gold-silver-gold or silver-rose-silver for cohesive rhythm.
- Temperature contrast: Combine cool metals (silver, white gold, platinum) with warm metals (yellow gold, rose gold).
- Finish coordination: Maintain consistent finishes across metals (all polished or all matte) for cohesive interplay.
- Connecting elements: Use two-tone bands as transition pieces between different metal sections.
- Dominant foundation: Choose one metal for 60-70% of your stack and use others as strategic accents.
Mixed metals create versatile foundations that work with virtually any wardrobe or other jewelry pieces, making them exceptionally practical for everyday wear.

Toi et Moi Ring Stacks
Toi et Moi rings, with their distinctive two-stone design, create unique opportunities for creative stacking:
- Height advantage: Position the Toi et Moi slightly higher than surrounding bands to emphasize its importance.
- Simplified surroundings: Pair with minimal plain bands that redirect attention to the two-stone design.
- Split stack strategy: Position thin bands on one side and leave the other side empty for asymmetrical balance.
- Color repetition: Include thin bands with smaller stones matching one or both of the Toi et Moi gemstones.
- Color balancing: If one Toi et Moi stone is more dominant, echo the less prominent stone in surrounding bands.
- Curved complements: Use curved or contoured bands that follow the unique shape of the Toi et Moi setting.
The inherent symbolism and unique silhouette of Toi et Moi rings deserve prominent placement within your stack composition.

Gemstone Ring Stacks
Colored gemstone rings add personality and vibrancy to stacks:
- Complementary colors: Pair stones from opposite sides of the color wheel (ruby/emerald or amethyst/citrine) for vibrant contrast.
- Monochromatic gradients: Arrange stones of the same hue in varying intensities (light to dark blue sapphires).
- Neutral anchoring: Balance vibrant stones with neutral gems like white topaz, colorless diamonds, or black onyx.
- Seasonal groupings: Create stone combinations reflecting seasonal palettes (for example, an autumn color scheme could include citrine, garnet, and topaz).
- Metal unification: Use the same metal setting for different colored gemstones to maintain cohesion.
- Framing technique: Use matching neutral bands or settings to frame a sequence of colored gemstones.
Color theory principles apply to gemstone stacking just as in other visual arts, with successful combinations creating either harmonious flow or intentional, pleasing contrast.
Ring Stacking Tips
Successfully stacking rings requires attention to detail and thoughtful consideration of several key factors.
1. Mix metals strategically: Combining metals like gold, silver, and platinum adds dimension and interest to your stack. Choose one dominant metal for approximately 60% of your stack, with accent metals making up the remainder. Select your primary metal based on skin undertones — yellow gold complements warm skin tones, while white metals enhance cooler complexions. Use two-tone or mixed metal rings as bridges between different metal sections.
2. Layer textures: Incorporate different textures to add visual depth without cluttering your stack. Position highly textured rings next to smooth, polished bands for maximum contrast. Consider combining nature-inspired textures with precise geometric patterns for interesting juxtaposition. Mix rings with different surface treatments — brushed, florentine, sandblasted, or high-polish — to create complex light play. Textural elements bring life to your stack even without gemstones or mixed metals, creating sophisticated dimensions through surface variation alone.
3. Add a focal point: Create hierarchy in your stack with a central focus piece that guides the eye. Place your focal piece at the stack's center or slightly above center for optimal visibility and arrange complementary bands to direct attention toward this key element. Consider leaving slight gaps on either side of important pieces to highlight their silhouette or position focal points slightly higher than surrounding bands for natural prominence. A well-defined focal point transforms random ring collections into intentional compositions with clear visual direction.
4. Balance width and height: Create dimensional variety by thoughtfully combining rings of different proportions. Position wide bands between clusters of thinner rings for breathing room and emphasis. Consider creating a tapering effect by arranging bands from widest to thinnest (or vice versa). Plan your stack's height profile across the finger, considering how it looks from all angles. The interplay between width and height affects both aesthetics and comfort, requiring attention to three-dimensional composition.
5. Leave at least one finger bare: Create balance through strategic negative space by leaving some fingers unadorned. Choose fingers that naturally create balanced composition when left bare (often thumbs or pinkies). Consider stacking rings on alternating fingers for a rhythmic, intentional appearance. You might create asymmetry between hands, with more negative space on your dominant hand for practical comfort. Resisting the temptation to stack every finger maintains sophistication and intentionality in your jewelry presentation.
6. Size appropriately: Ensure proper sizing for comfort and security across all stack components. Increase ring size by approximately ¼ size for every 3-4 stacked rings on one finger. Size wider bands slightly larger than thin bands for equivalent comfort. Remember that rings worn near the knuckle should be sized slightly smaller than those at the base of the finger for optimal fit. Thoughtful sizing prevents the common problems of too-tight stacks that restrict circulation or too-loose arrangements that spin and shift.